Do you want a clean, organized home that makes you happy and productive? Do you wish to achieve professional-level cleaning without spending hours or hiring a service? If so, you’re in the right place. In this article, we’ll share 8 House cleaning tips from the pros that will help you clean your house like a pro in no time.
You’ll learn how to use simple and natural ingredients, such as vinegar, baking soda, and lemon, to remove dirt, stains, and odors from every surface. You’ll also discover clever hacks, such as using a pillowcase to dust ceiling fans, a squeegee to remove pet hair from furniture, and a dryer sheet to clean baseboards. Following these steps, you can transform your home into a sparkling and inviting space you’ll love to live in. Ready to get started? Let’s go!
8 House cleaning tips from the pros
Diving into the world of pro cleaning tips, it’s like unlocking a treasure chest of savvy shortcuts and eco-friendly hacks that transform the mundane task of cleaning into an art form. Imagine blending the magic of decluttering, the precision of using the right tools for the right job, and the wisdom of eco-friendly solutions into your routine.
It’s not just about scrubbing and dusting; it’s about adopting a smarter approach that maximizes efficiency and breathes fresh life into your home. From mastering the dance of the vacuum to the strategic timing of tasks, these tips are all about making cleanliness a joy rather than a chore, ensuring that every nook and cranny gleams with the satisfaction of a job well done, all while keeping it light, fun, and sustainable.
Let’s dive into each step and see how they can sparkle your home.
Step 1: Use vinegar for hard water deposits
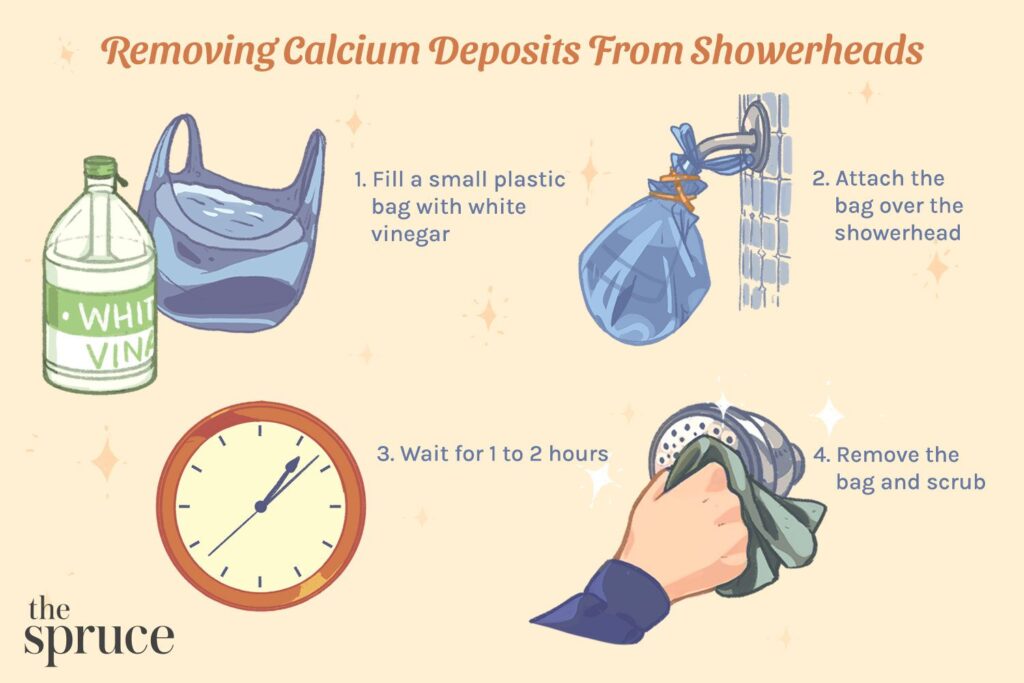
Hard water deposits are the crusty buildup around faucets, sinks, and shower heads. They can make your fixtures look dull and dirty and reduce water flow and pressure. You can use white vinegar, a natural and inexpensive cleaner that dissolves mineral deposits to get rid of them. Here is how to do it:
- Fill a small plastic bag with white vinegar and tie it around the faucet or shower head, ensuring the affected area is submerged in the vinegar.
- Leave it for an hour or overnight, depending on the severity of the buildup.
- Remove the bag and wipe the fixture with a soft cloth or sponge.
- Rinse with water and enjoy your shiny and smooth fixture.
Step 2: Toss the mop and use a steamer or a spray-and-vac machine
Mopping may seem simple and effective to clean your floors, but it is not. Mopping can spread dirt and bacteria, leaving your floors streaky and unsanitary. Instead of mopping, you can use a steamer or spray-and-vac machine to sanitise and remove more dirt from your floors. Here is how to use them:
A steamer uses hot steam to loosen and lift dirt and germs from your floors without any chemicals or detergents. It can also kill 99.9% of bacteria and viruses, making your floors safe and hygienic. To use a steamer, you just need to fill the water tank, plug it in, and glide it over your floors. You can also use it on carpets, rugs, curtains, and upholstery.
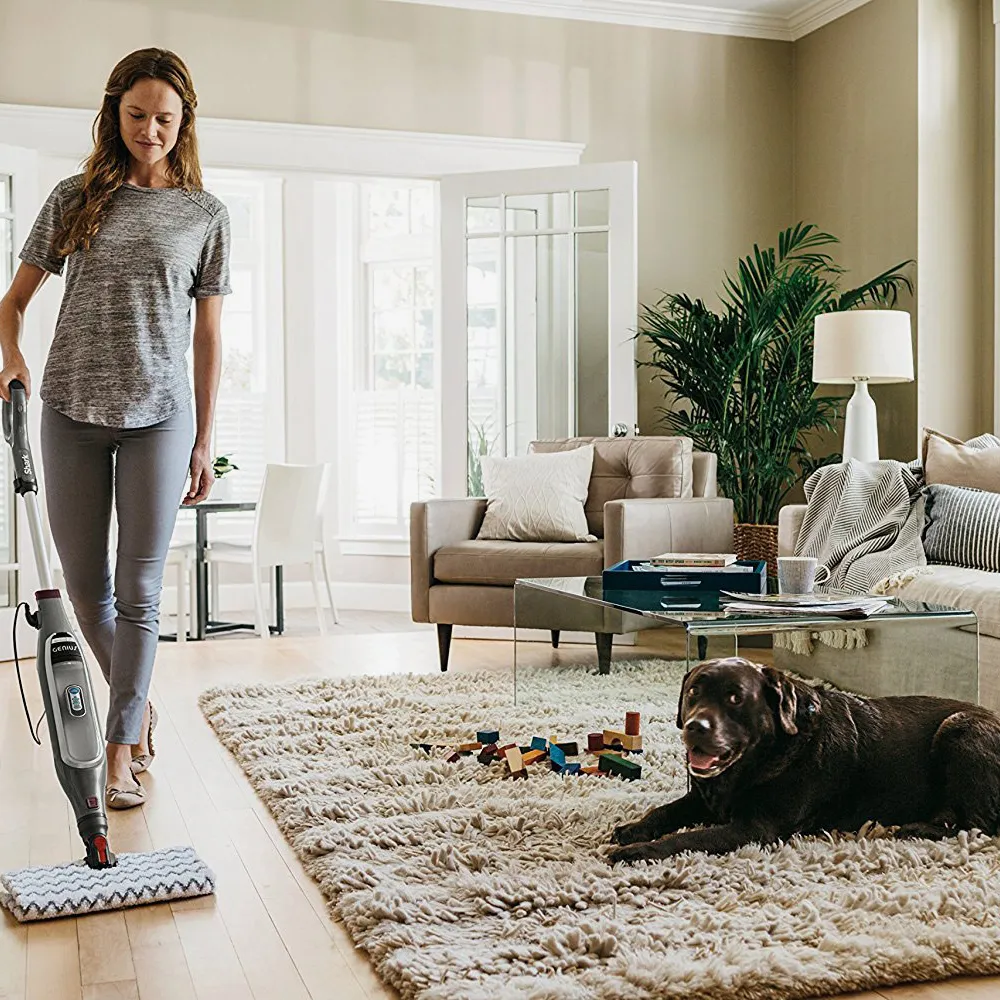
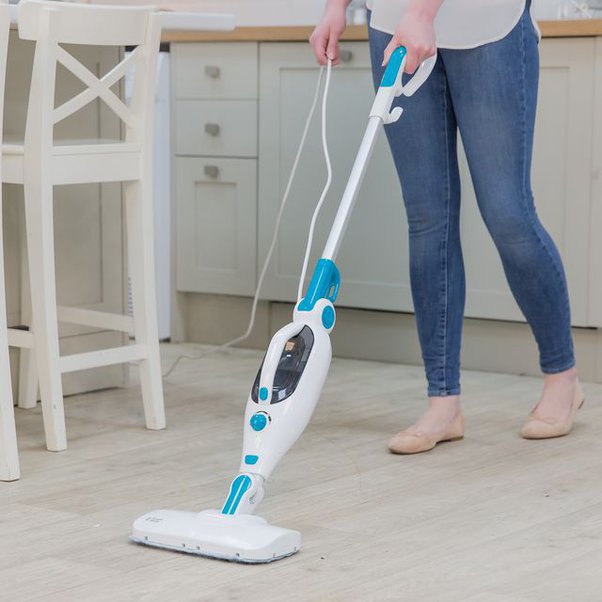
A spray-and-vac machine is a device that sprays a cleaning solution on your floors and then vacuums it up, along with the dirt and grime. It can also dry your floors quickly, leaving them streak-free and shiny.
To use a spray-and-vac machine, you just need to fill the solution tank, plug it in, and press the trigger to spray and vacuum your floors. You can also use it on tiles, vinyl, laminate, and hardwood floors.
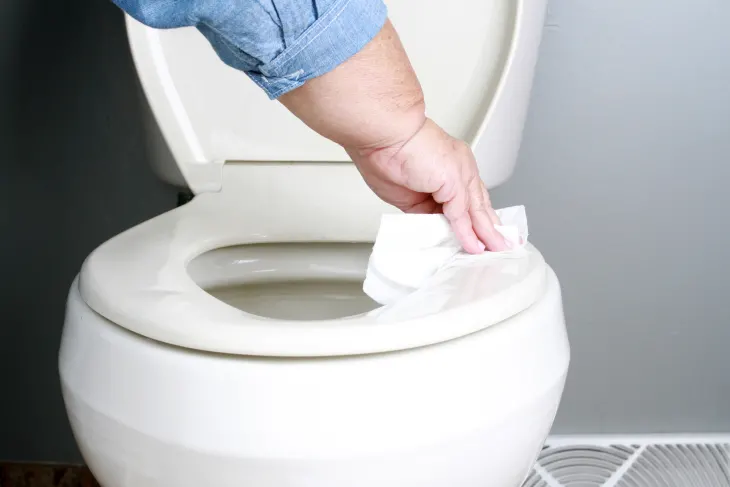
Step 3: Clean the toilet while you sleep
The toilet is one of the most used and dirtiest places in your home, and it can harbour stains, odours, and germs. To keep it fresh and clean, you can use a simple trick that involves white vinegar and denture tablets. These ingredients can dissolve stains and odours in the toilet bowl overnight while you sleep. Here is how to do it:
- Pour a cup of white vinegar into the toilet bowl and let it sit for a few minutes.
- Drop two denture tablets into the toilet bowl and let them fizz and foam.
- Close the lid and leave it overnight.
- In the morning, flush the toilet and scrub it with a toilet brush.
- Enjoy your sparkling and odour-free toilet.

Step 4: Scrub the area behind the toilet
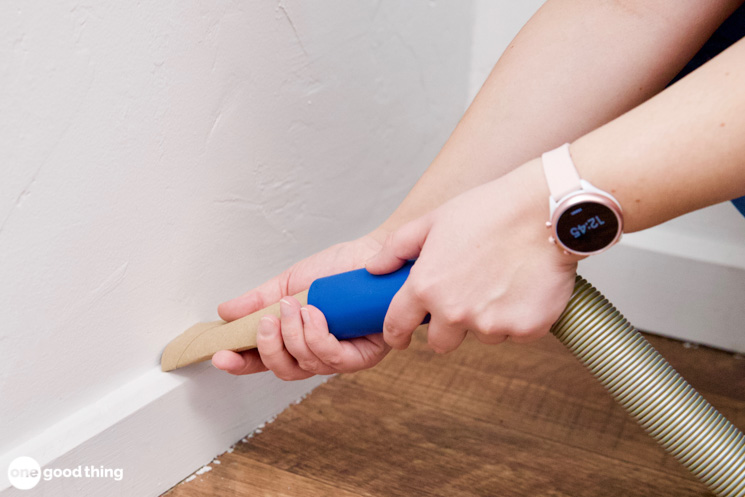
The area behind the toilet is often overlooked and neglected, but it can accumulate dust, dirt, and cobwebs. You can use a vacuum attachment and a microfiber cloth to keep it clean and tidy. These tools can help you dust and clean the area behind the toilet without bending or stretching. Here is how to use them:
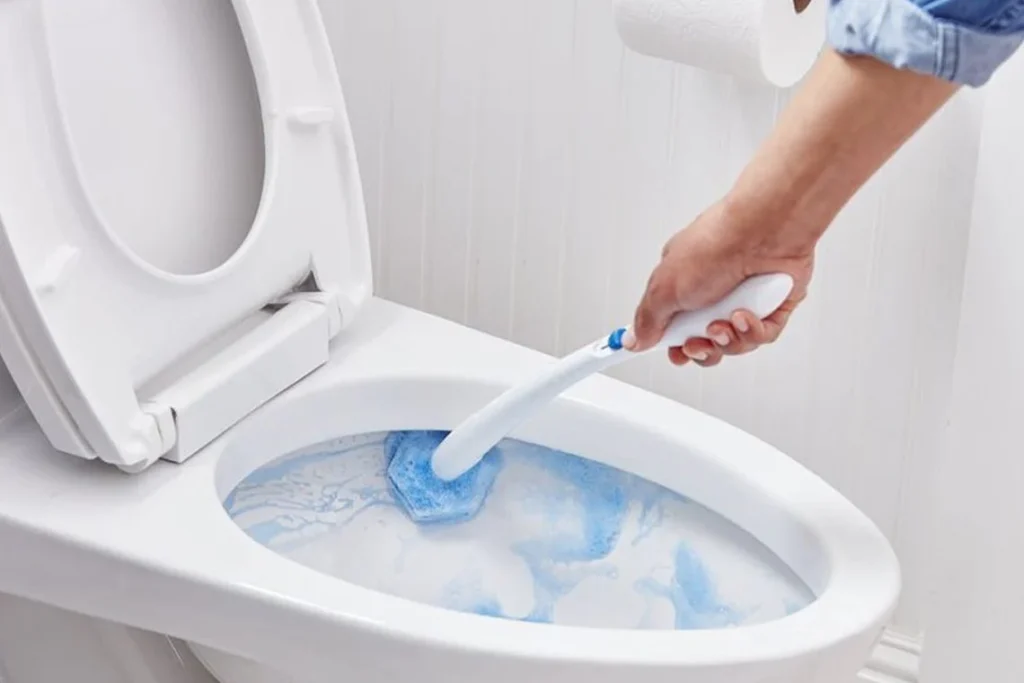
- Attach a crevice tool or a dusting brush to your vacuum cleaner and use it to suck up the dust and debris from the area behind the toilet.
- Dampen a microfiber cloth with water or a multi-purpose cleaner and wipe the area behind the toilet, including the base, the pipes, and the wall.
- Dry the area with a clean microfiber cloth or paper towel.
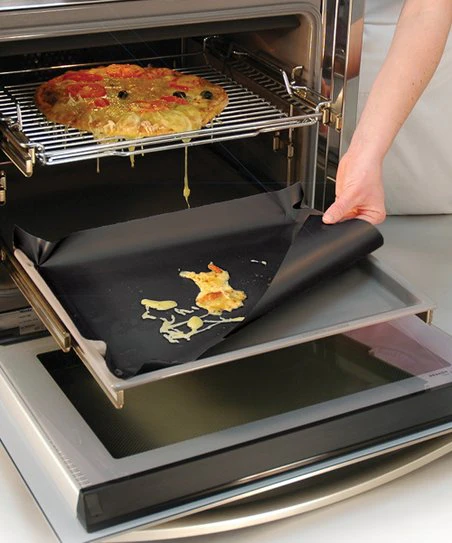
Step 5: Use an oven liner to catch spillovers
The oven is one of the most challenging and time-consuming appliances to clean, especially if it has baked-on messes and spillovers. You can use a disposable oven liner to prevent these messes and reduce oven-cleaning time in half. This is a thin sheet of aluminium foil that you can place on the bottom rack of your oven under the food you are baking. It can catch any drips and spills, and you can easily toss it away when you are done. Here is how to use it:
- Cut a sheet of aluminium foil to fit the size of your oven’s bottom rack, leaving some space around the edges for air circulation.
- Place the foil on the bottom rack of your oven, shiny side up.
- Bake your food as usual, and check the foil for any spillovers.
- When you are done, carefully remove the foil and dispose of it.
- Wipe the bottom rack of your oven with a damp cloth or sponge.
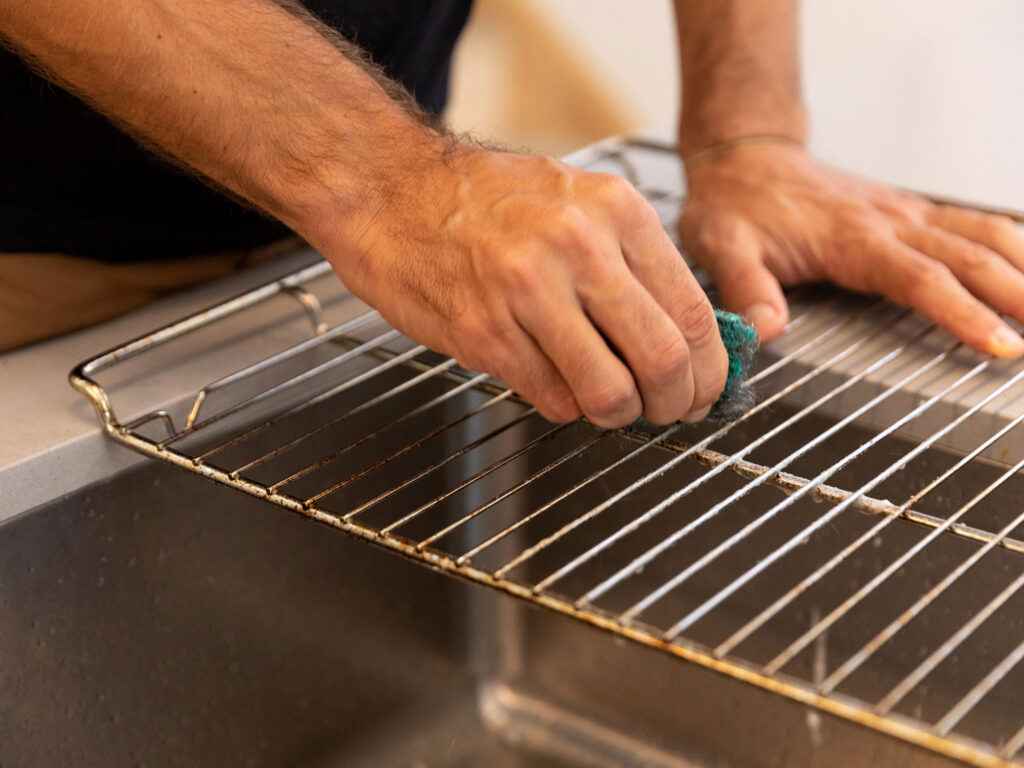
Step 6: Clean oven racks overnight
Oven racks can also get dirty and greasy from cooking and can be hard to clean with conventional methods. To make them look new again, you can use a simple method that involves oven cleaner or degreaser and a garbage bag. These products can loosen and remove the grease and grime from your oven racks overnight while you sleep. Here is how to do it:
- Remove the oven racks from your oven and place them on a large sheet of newspaper or cardboard.
- Spray them generously with oven cleaner or degreaser, covering all sides and corners.
- Place them in a large garbage bag and tie it securely.
- Leave the bag outside or in a well-ventilated area overnight.
- In the morning, wash the bag and rinse the oven racks with water and a scrubbing pad.
- Dry them with a towel and put them back in your oven.
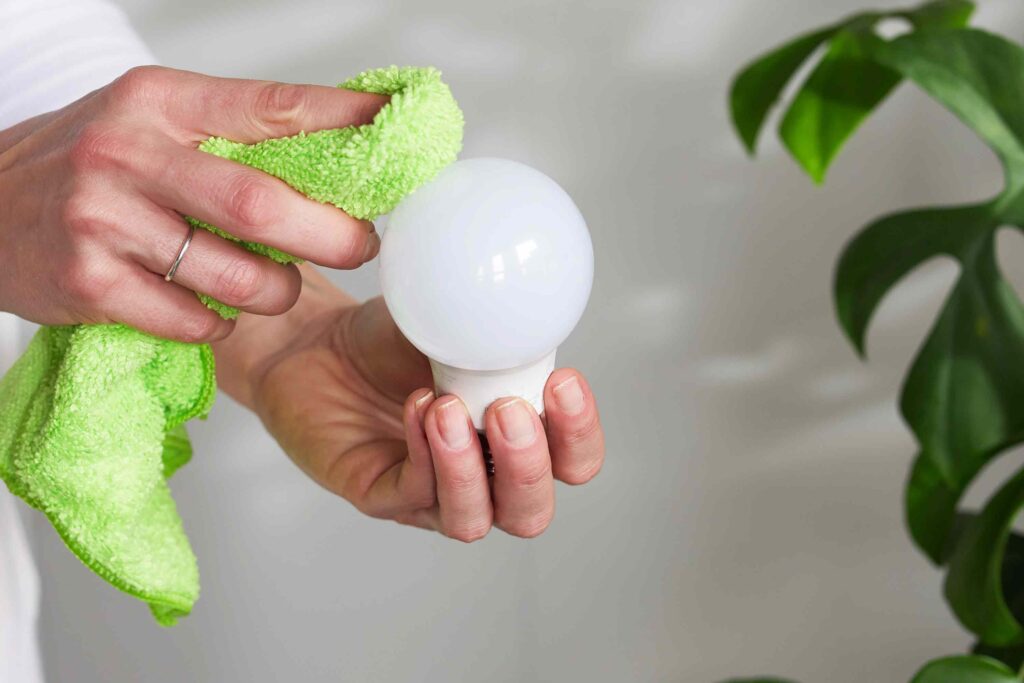
Step 7: Dust your light bulbs
Light bulbs are often forgotten and ignored, but they can collect dust and dirt over time, reducing their brightness and efficiency. You can wipe them regularly with a soft cloth or a microfiber duster to keep them shining and save energy. These tools can help you dust your light bulbs without damaging or causing them to overheat. Here is how to use them:
- Turn off the light and let the bulb cool down completely.
- Use a soft cloth or a microfiber duster to gently wipe the bulb, removing dust and dirt.
- If the bulb is very dirty, you can dampen the cloth or duster with water or rubbing alcohol and wipe it again, then dry it with a clean cloth or duster.
- Turn on the light and enjoy the improved brightness and clarity.
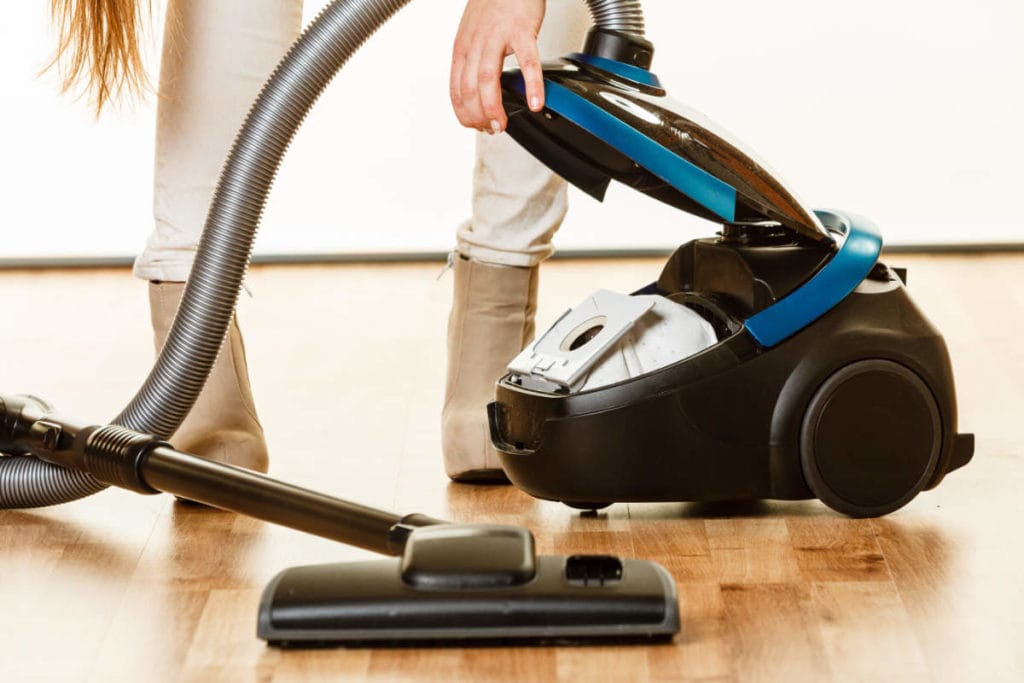
Step 8: Attack allergens with a HEPA filter vacuum
Spores and other allergens can lurk on surfaces other than carpets and floors, such as curtains, furniture, mattresses, and pillows. These allergens can trigger allergies, asthma, and other respiratory problems and can also affect indoor air quality. You can use a high-efficiency particulate air (HEPA) filter vacuum to remove them and breathe easier. This vacuum can capture 99.97% of particles as small as 0.3 microns, including dust mites, pollen, mould, and pet dander. Here is how to use it:
- Attach a suitable nozzle or attachment to your HEPA filter vacuum, such as an upholstery tool, a mattress tool, or a dusting brush.
- Use the vacuum to suck up the allergens from your curtains, furniture, mattresses, and pillows, moving slowly and steadily.
- Empty the vacuum dust container or bag and clean the filter regularly, following the manufacturer’s instructions.
- Enjoy a cleaner and healthier home.
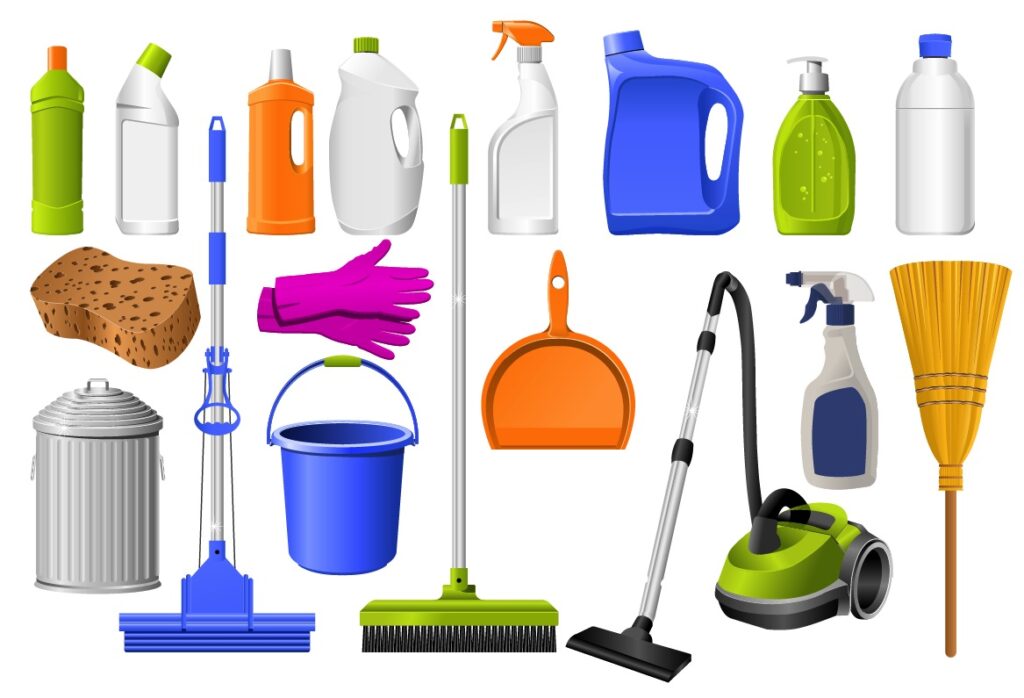
What are the best tools and products to use for cleaning?
The best tools and products to use for cleaning depend on the type and condition of the surface you are cleaning. However, some general tools and products that can help you clean your home like a pro are:
- A steamer or a spray-and-vac machine for sanitising and removing dirt from floors.
- A HEPA filter vacuum for removing allergens from carpets, curtains, furniture, and mattresses.
- A microfiber cloth and rubbing alcohol for polishing and shining stainless steel appliances.
- A squeegee for removing pet hair from upholstery and carpets.
- A lint roller for cleaning lampshades.
- A lemon for cleaning and deodorising the microwave.
- Baking soda and vinegar for unclogging drains.
- White vinegar for removing hard water deposits and stains from faucets, sinks, shower heads, and toilet bowls.
- Denture tablets for cleaning the toilet bowl overnight.
- An oven liner for catching spillovers and reducing oven-cleaning time.
- Oven cleaner or degreaser for cleaning oven racks overnight.
- A pillowcase for cleaning ceiling fans without making a mess.
- Dryer sheets for cleaning and repelling dust from baseboards and other surfaces.
Final Analysis
You have just learned 8 House cleaning tips from the pros that will help you clean your home like a pro in less time and effort. These steps will make your home sparkle and improve your health, mood, and productivity. You can use these steps to tackle any cleaning challenge, from hard water deposits to pet hair.
You can also use natural and inexpensive ingredients like vinegar, baking soda, and lemon to avoid harsh chemicals and save money. Try these steps today and see the difference for yourself. Do you have any other cleaning tips or tricks to share? Let us know in the comments below. Happy cleaning!
Jl.Surjan
Disclosure: Our blog contains affiliate links to products. We may receive a commission for purchases made through these links. However, this does not impact our reviews and comparisons. We try our best to keep things fair and balanced, in order to help you make the best choice for you.
