Cleaning your house doesn’t have to be a daunting task. Whether you’re a seasoned pro or a newbie with a mop, finding the right order can make all the difference. Imagine stepping into a freshly cleaned home where everything sparkles and smells delightful. Let’s dive into the nitty-gritty of house cleaning sans the clichés. No “welcome” speeches here—just practical advice to help you conquer the dust bunnies and reclaim your space. Ready? Let’s roll up those sleeves and get started exploring the best order for cleaning the house!
Best Order for Cleaning the House: Declutter and Organize
Decluttering and organizing are essential steps in the cleaning process. By tackling clutter first, you’ll create a more efficient and pleasant environment in which to work. Here’s how to approach this crucial stage:

A. Room-by-Room Assessment:
- Begin by walking through each room in your house. Take note of cluttered areas, items out of place, and any messes that need attention.
- Prioritize rooms based on their usage and the level of clutter. For example:
- Living Room: Focus on clearing coffee tables, removing magazines, and tidying up entertainment centers.
- Bedroom: Make the bed, fold clothes, and organize bedside tables.
- Kitchen: Address countertops, pantry shelves, and utensil drawers.
B. The “Keep, Donate, Toss” Rule:
- As you declutter, follow the simple rule of three categories:
- Keep items you use regularly or that have sentimental value.
- Donate Things in good condition that you no longer need.
- Toss: Broken or unusable items.
C. Tackle One Area at a Time:
- Avoid feeling overwhelmed by focusing on one small area at a time.
- For example:
- Closet: Sort through clothes, shoes, and accessories.
- Bookshelf: Arrange books and remove any you no longer want.
- Countertops: Clear off unnecessary items.
D. Storage Solutions:
- Invest in storage bins, baskets, and organizers.
- Label containers to make it easy to find items later.
- Store seasonal items separately to free up space.
E. Digital Decluttering:
- Don’t forget about digital clutter! Organize your computer files, delete old emails, and tidy up your phone apps.
- Back up important files and delete duplicates.
Dust and Cobweb Removal
Dusting and getting rid of cobwebs might not be the most exciting part of cleaning, but it’s essential for maintaining a fresh and healthy home. Let’s break down this step:
A. Start from the Top:
- Ceiling Fans and Light Fixtures:
- Use a long-handled duster or a microfiber cloth to remove dust from ceiling fans and light fixtures.
- Pay attention to the blades and any decorative elements.
- High Shelves and Corners:
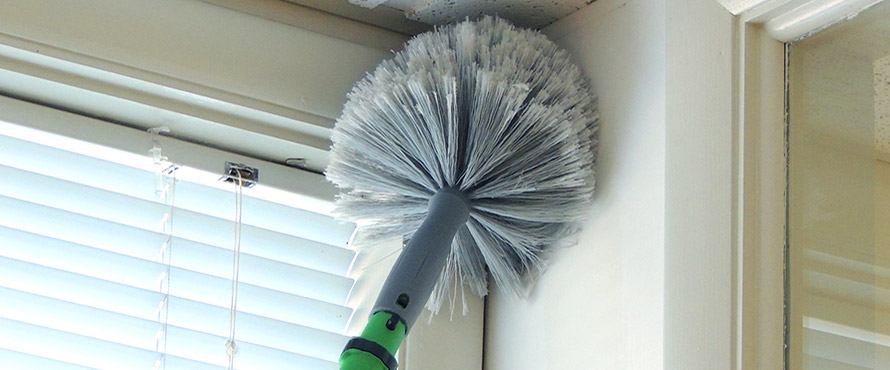
- Dust accumulates in corners and on high shelves. Reach up and wipe away cobwebs and dust.
- Consider using an extendable duster for hard-to-reach spots.
B. Walls and Baseboards:
- Dry Dusting:
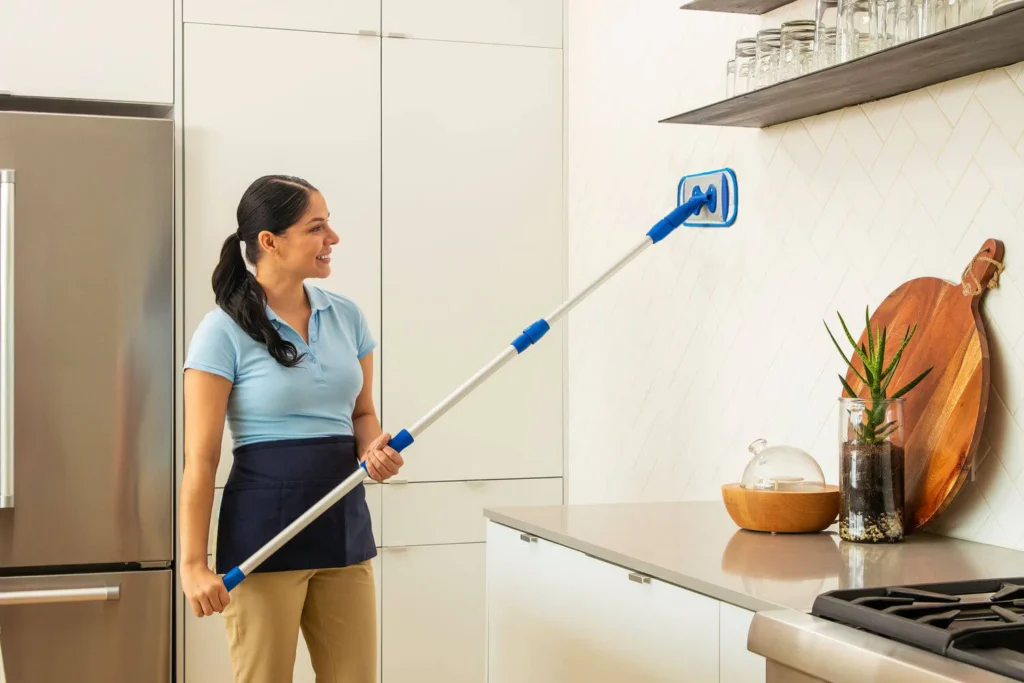
- Run a microfiber cloth along walls and baseboards.
- Focus on areas near the floor where dust tends to settle.
- Wet Wiping (if needed):
- For stubborn spots, dampen the cloth slightly and wipe down the baseboards.
C. Window Sills and Frames:
- Remove Debris:
- Clear away dead insects, leaves, or other debris from window sills.
- Wipe Down:
- Use a damp cloth to wipe down window frames and sills.
- Pay attention to corners and crevices.
D. Blinds and Curtains:
- Blinds:
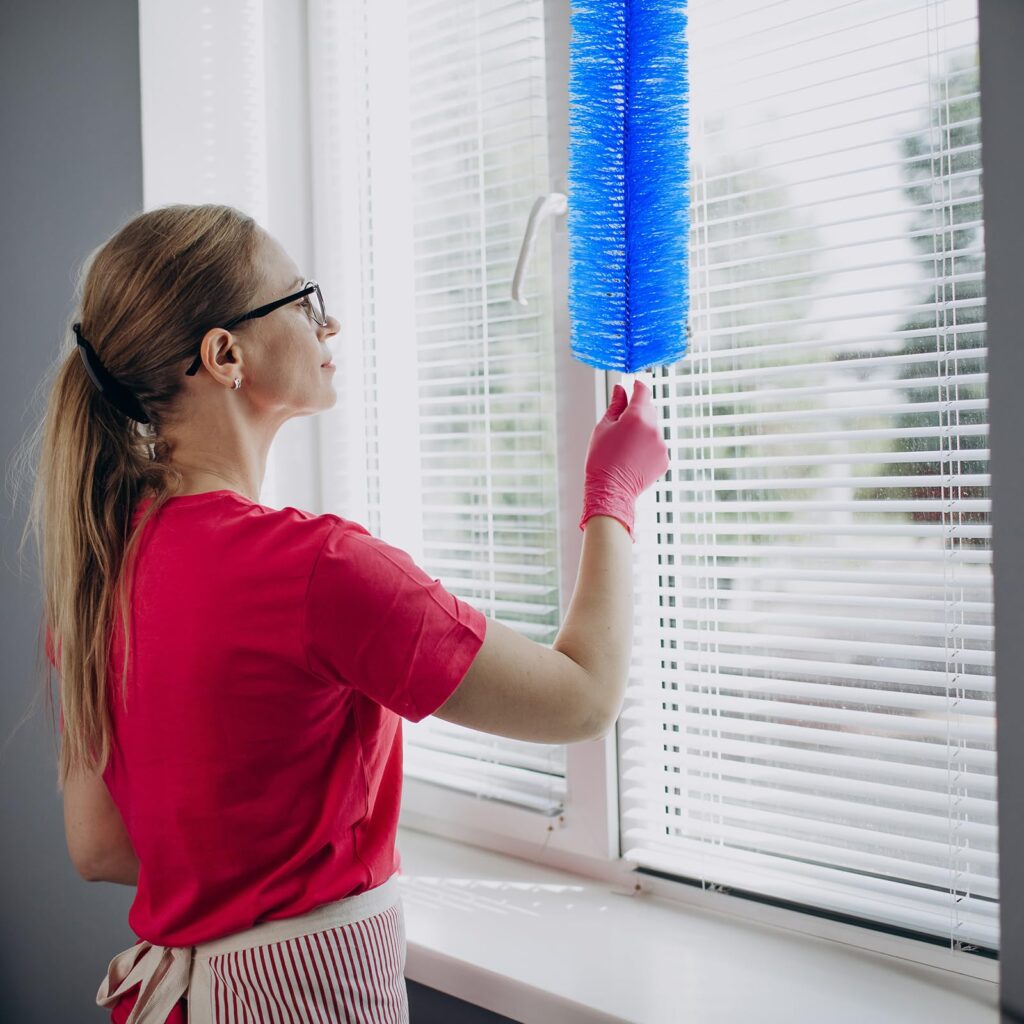
- Close the blinds and run a microfiber cloth or a blind duster across each slat.
- Rotate the blinds to clean both sides.
- Curtains:
- Vacuum curtains using a brush attachment.
- If washable, follow care instructions for laundering.

E. Electronics and Appliances:
- TVs, Computers, and Speakers:
- Dust screens, keyboards, and speaker grilles.
- Use compressed air to blow out dust from tight spaces.
- Kitchen Appliances:
- Wipe down the exterior of appliances like the refrigerator, microwave, and oven.
F. Floor Corners and Vents:
- Floor Corners:
- Sweep or vacuum floor corners to remove dust and dirt.
- Use a crevice tool for tight spots.
- Vents and Air Registers:
- Remove vent covers and wash them if possible.
- Vacuum inside the vents to prevent dust buildup.
Clean Windows and Mirrors
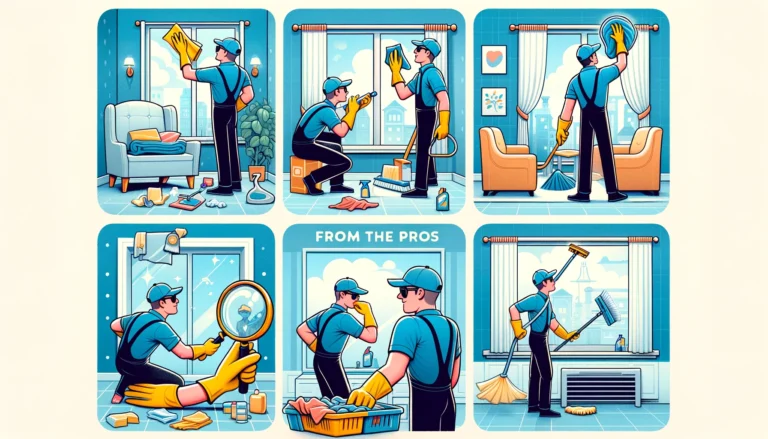
Achieving streak-free, crystal-clear windows and mirrors can instantly brighten up your living space. Let’s dive into the specifics of this step:

A. Gather Your Supplies:
- Glass Cleaner: Choose a quality glass cleaner or make your own using a mixture of water and vinegar.
- Lint-Free Cloths or Microfiber Towels: These won’t leave lint or streaks behind.
B. Window Cleaning Technique:
- Remove Dust and Debris:
- Use a dry cloth or a duster to remove any loose dirt, dust, or cobwebs from the window frame and sill.
- Spray and Wipe:
- Spray the glass cleaner evenly on the window surface.
- Starting from the top, wipe the glass in a zigzag motion.
- Pay extra attention to corners and edges.
- Streak-Free Finish:
- Immediately follow the wet wipe with a dry, lint-free cloth.
- Buff the glass in circular motions to remove any streaks.
- Mirrors:
- Apply the same technique to mirrors.
- Don’t forget to clean the mirror frame as well.

C. Tricky Spots:
- Window Tracks:
- Use an old toothbrush or a narrow brush to clean window tracks.
- Vacuum out any debris.
- Window Screens:
- Remove screens if possible.
- Rinse them with water or gently scrub them with a soft brush.
- Let them dry before reinstalling.
D. Outdoor Windows:
- For exterior windows, consider using a hose or a bucket of soapy water.
- Use a squeegee for large windows.
- Be cautious if you need to use a ladder.
E. Regular Maintenance:
- Wipe down windows and mirrors regularly to prevent buildup.
- Consider cleaning them seasonally or as needed.
Vacuum and Sweep
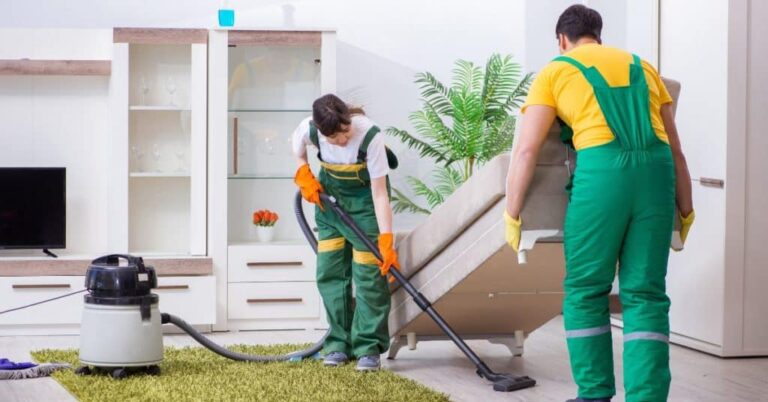
Keeping your floors clean is essential for a tidy home. Whether you have carpets, rugs, or hard floors, this step ensures that loose dirt and debris are removed efficiently. Let’s dive into the specifics:
A. Vacuuming:
- Carpets and Rugs:
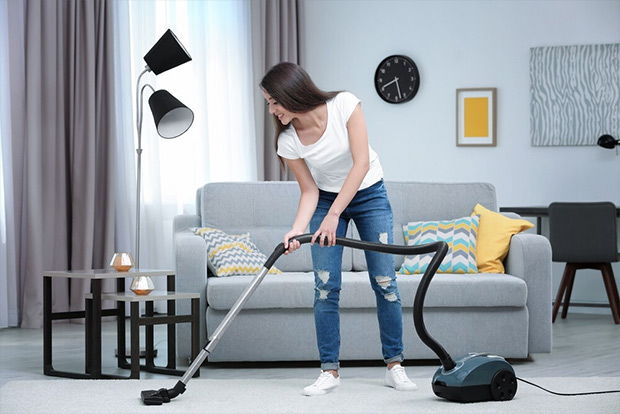
- Use a vacuum cleaner with a suitable attachment for carpets and rugs.
- Start from one end of the room and work your way toward the exit.
- Pay extra attention to high-traffic areas.
- Upholstery:
- Vacuum upholstered furniture (sofas, chairs) to remove dust and crumbs.
- Don’t forget the cushions and crevices.
B. Sweeping:
- Hard Floors (Wood, Tile, Laminate):
- Choose a broom or a microfiber sweeper.
- Sweep the entire floor, pushing debris toward a dustpan.
- Empty the dustpan into the trash.
- For stubborn dirt, use a damp cloth or mop.
C. Under Furniture and Corners:
- Move furniture (if possible) to access hidden areas.
- Sweep or vacuum under beds, sofas, and tables.
- Dust corners and baseboards.
D. Entryways and Doormats:
- Shake out doormats to remove dirt.
- Vacuum or sweep entryways to prevent outdoor debris from spreading inside.
E. Frequency:
- Vacuum high-traffic areas at least once a week.
- Sweep hard floors as needed (daily or every few days).
Mop Hard Floors
Mopping hard floors is the final step in achieving a clean and polished home. Follow these steps to ensure your floors shine:
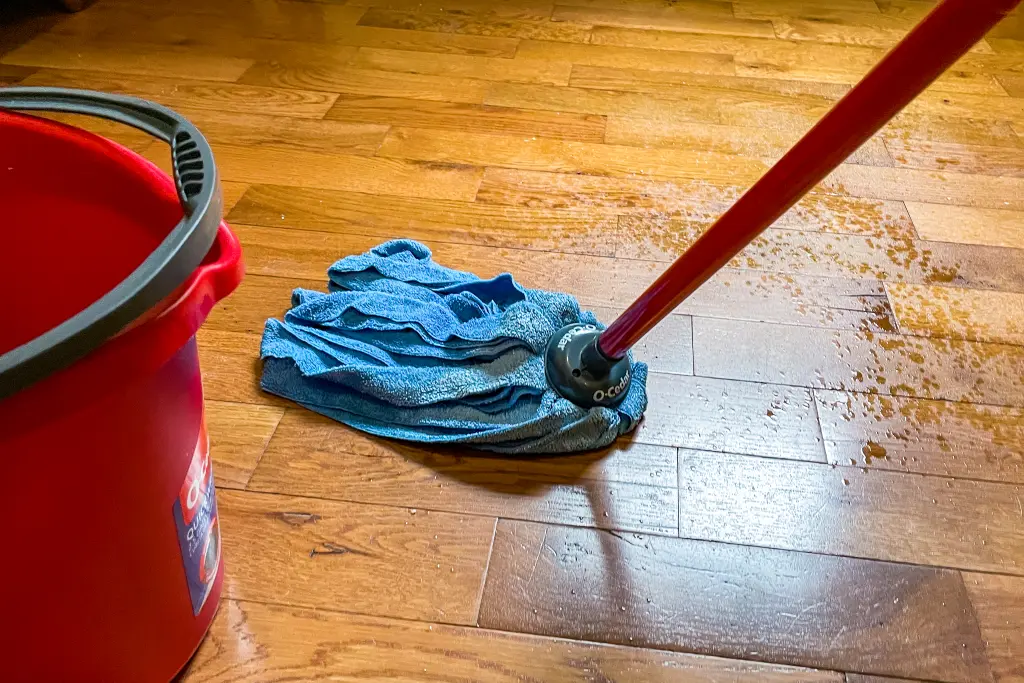
A. Choose the Right Floor Cleaner:
- Wood Floors: Use a wood floor cleaner that won’t damage the finish.
- Tile or Laminate Floors: Opt for a suitable all-purpose floor cleaner.
B. Prepare Your Mop:
- Microfiber Mop: These are effective for most hard floors.
- Bucket: Fill it with warm water and add the appropriate floor cleaner.
C. Mopping Technique:
- Dampen the Mop:
- Dip the mop into the cleaning solution and wring out excess water.
- Start from the Farthest Corner:
- Begin mopping in the corner farthest from the exit.
- Work your way toward the door.
- Back-and-Forth Motion:
- Move the mop back and forth, covering small sections at a time.
- Rinse the mop frequently.
- Wipe Dry:
- After mopping a section, use a dry microfiber cloth to wipe away excess moisture.
- This prevents streaks and water spots.
D. Pay Attention to High-Traffic Areas:
- Focus on areas near entrances, hallways, and kitchen spaces.
- These spots accumulate more dirt and footprints.
E. Avoid Over-Wetting:
- Don’t saturate the floor with water; dampness is sufficient.
- Excess water can damage wood floors or seep into seams.
F. Quick-Drying Tips:
- Open windows or turn on fans to help floors dry faster.
- Place rugs or mats in high-traffic areas to prevent slips.
G. Regular Maintenance:
- Mop as needed (weekly or biweekly).
- Spot-clean spills promptly to prevent stains.
Kitchen Cleaning
A clean kitchen is essential for both hygiene and functionality. Follow these steps to tackle kitchen cleaning effectively:
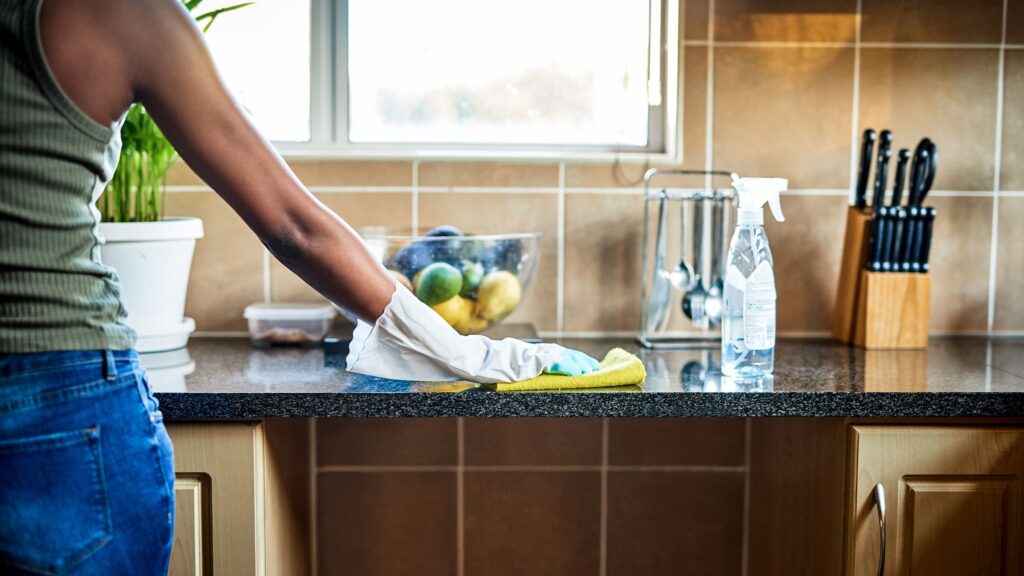
A. Countertops and Surfaces:
- Clear the Decks:
- Remove all items from the countertops.
- Wipe down surfaces with an all-purpose cleaner.
- Focus on High-Touch Areas:
- Pay extra attention to areas near the sink, stove, and food prep zones.
- Disinfect if necessary.
B. Appliances:
- Refrigerator:
- Check for expired items and discard them.
- Wipe down shelves and drawers.
- Microwave:
- Clean the interior with a microwave-safe cleaner.
- Don’t forget the exterior and control panel.
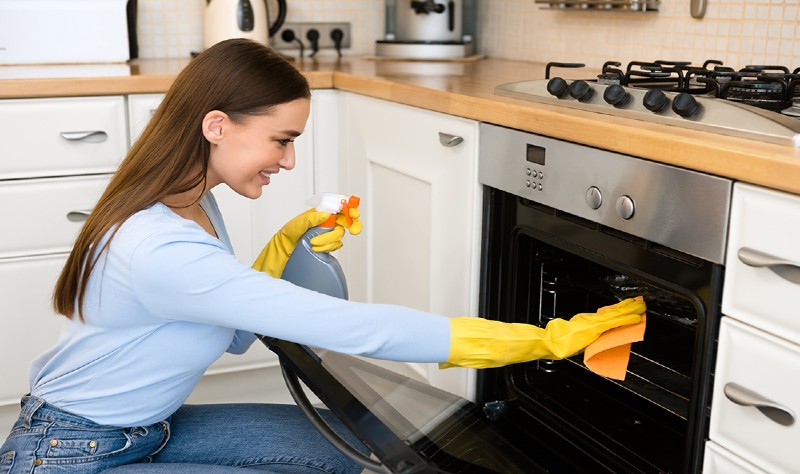
- Stovetop and Oven:
- Remove burner grates and drip pans.
- Scrub stovetop surfaces.
- Clean the oven (if needed).
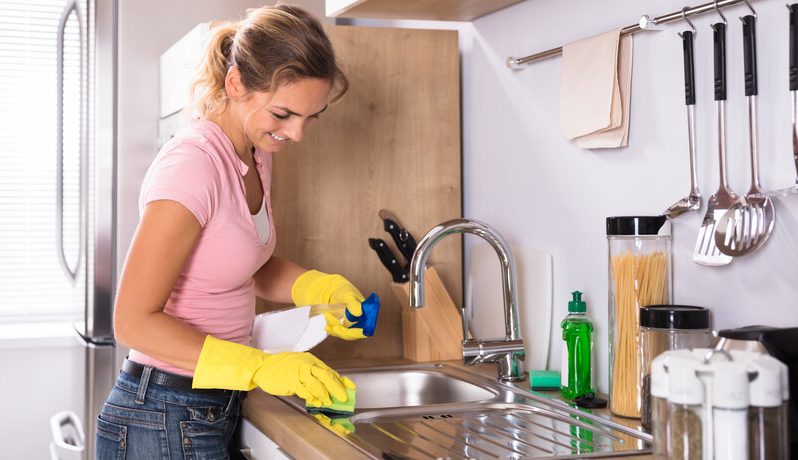
C. Sink and Dishwasher:
- Sink:
- Unclog the drain if necessary.
- Scrub the sink basin and faucet.
- Dishwasher:
- Run an empty cycle with vinegar or a dishwasher cleaner.
- Wipe down the exterior.
D. Cabinets and Drawers:
- Declutter:
- Remove items you no longer use.
- Organize pots, pans, and utensils.
- Wipe Down:
- Clean cabinet fronts and handles.
- Vacuum or wipe out drawers.
E. Trash and Recycling:
- Empty the trash can and recycling bins.
- Line them with fresh bags.
F. Floor Cleaning:
- Sweep or vacuum the kitchen floor.
- Mop using a suitable floor cleaner.
G. Finishing Touches:
- Replace kitchen towels and dishcloths.
- Light a scented candle or use an air freshener.
Final Analysis
This is all about the Best order for cleaning the house. When it comes to cleaning your house, remember that consistency is key. Break down tasks into manageable chunks and tackle them regularly. Declutter first, then follow a logical order: dusting, windows, floors, and kitchen. And don’t forget the finishing touches—light a scented candle for that extra touch of freshness!
Jl.Surjan
Disclosure: Our blog contains affiliate links to products. We may receive a commission for purchases made through these links. However, this does not impact our reviews and comparisons. We try our best to keep things fair and balanced, in order to help you make the best choice for you.
